Create a Model Card
This tutorial will guide you through how to create a model card in a local environment and upload it to the TensorOpera AI Platform, so that you can deploy it anywhere.
There are three ways to create a model card:
- Create from a model config file.
- Create from Hugging Face.
- (Web-UI) Create from TensorOpera model marketplace.
Pre-requisites
Before you start to craft the model card, install fedml to your machine, fedml is TensorOpera's serving library.
pip install fedml
Create a model card from a model config file
The most straightforward way to create a model card is to use a model config YAML file. The following steps are also written in the GitHub repository, you can find the example here, or clone it use:
git clone https://github.com/FedML-AI/Model-Card-Example.git
What's inside a model card?
To craft a model card, an example workplace folder structure is like this:
├──  config.yaml     # Contains the model card configuration.
└──  main_entry.py   # Entry point of the model.
What's inside a config file?
Inside config.yaml, you can define the model card configuration. The configuration file can be more complex, see Model Configuration YAML Chapter for full reference.
But a minimum example is like:
workspace: '.' # The path to the folder that you want to create the model card.
entry_point: 'main_entry.py' # The path to the entry point file of the model.
What's inside an entry file?
Inside the main entry file main_entry.py. There are two essential components that you need to implement:
FedMLPredictor and FedMLInferenceRunner.
First, you need to Inherit FedMLPredictor as the base class as your model serving object.
Inside this class, you need to implement two methods: __init__ and predict.
In the
__init__method, you need to initialize the model. E.g. load the model checkpoint.In the
predictmethod, you need to define how your model will respond to the requests.from fedml.serving import FedMLPredictor
class MyChatbot(FedMLPredictor):
def __init__(self):
super().__init__()
def predict(self, request: dict) -> dict:
response_text = "Hello, I am a chatbot."
return {"generated_text": response_text}
In the __main__ function, initialize a child obj with class MyChatbot, which you define in the previous step,
then pass it to FedMLInferenceRunner class, finally call its run method.
from fedml.serving import FedMLInferenceRunner

if __name__ == "__main__":
    chatbot = MyChatbot()
    fedml_inference_runner = FedMLInferenceRunner(chatbot)
    fedml_inference_runner.run()
Model creation command that indicates a configuration file
Use fedml model create command to create a local model card. Using -n to specify the model name,
-cf to specify the model card configuration file.
fedml model create -n my_model -cf config.yaml
After you have created a model card, you can push it to the TensorOpera AI Platform by using:
fedml model push -n my_model -k $API_KEY
Create a model card from Hugging Face
Another way to create a model card is to use a pre-built model from Hugging Face, you can use the following command:
fedml model create --name $model_name --model $model_name
$model_name is a arbitrary name for your model card.
$model_name is the name of the pre-built model from Hugging Face. Start with hf:.
For example, to use the EleutherAI/pythia-70m model from Hugging Face, you can use the following command:
fedml model create --name hf_model --model hf:EleutherAI/pythia-70m
Currently we support importing text2text-generation model from Hugging Face, for other type of model, you need to create a custom model card as mentioned in the previous section.
After you have created a model card, you can push it to the TensorOpera AI Platform by using:
fedml model push -n my_model -k $API_KEY
Create a model card from TensorOpera Model Marketplace
The third way to create a model card is to use the TensorOpera AI Cloud platform.
TensorOpera AI Cloud provides a wide range of pre-trained models for various tasks. You can choose a model under the
Model Hub -> Model Marketplace -> Models tab in the TensorOpera AI Cloud dashboard. Click the model card to view the details.
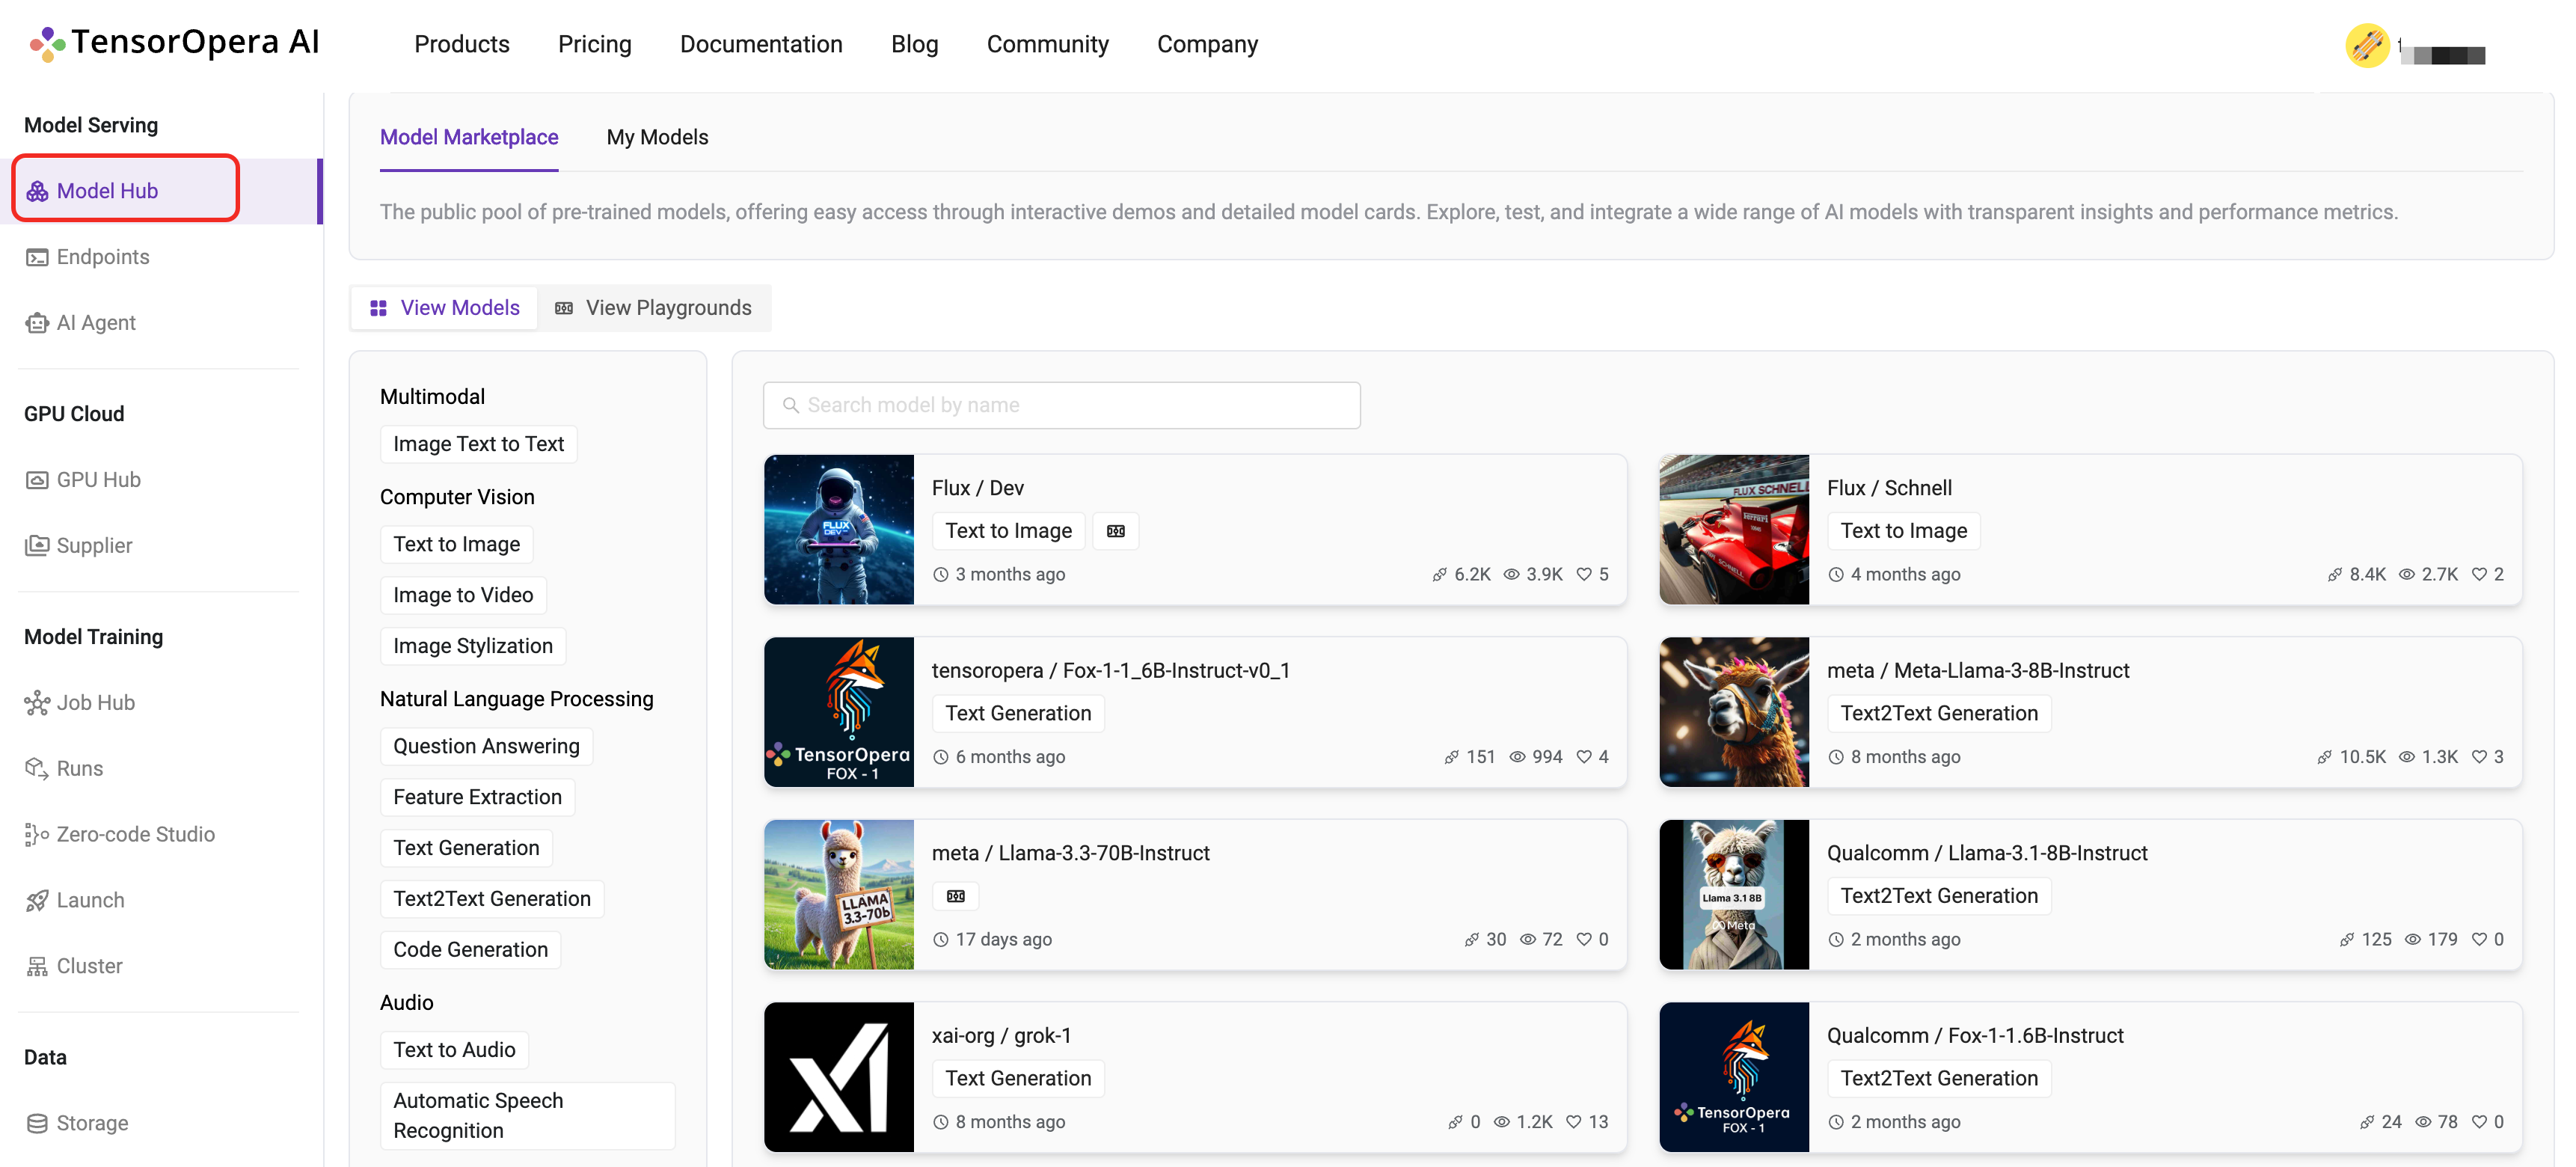
After you have chosen a model, say meta/Llama-3.3-70B-Instruct . You can click the Import button to deploy the model.

What's next?
Still not sure how to on board your model card to TensorOpera AI Platform? Look at those Official Examples written in Python.
If you finished create your model card, then congratulations, you are ready to deploy the model card to different environments, like local, on-premise, or GPU Cloud. Follow the one of the following tutorials to learn how to deploy the model card.